Our top spring cleaning pro tip? Take a moment to get organized before jumping into your chore list. We love creating a spring cleaning checklist to make it more manageable. If you space out your list over three weeks, well, it might not seem like such an overwhelming task. Click here to download our O-Cedar Spring Cleaning checklist.
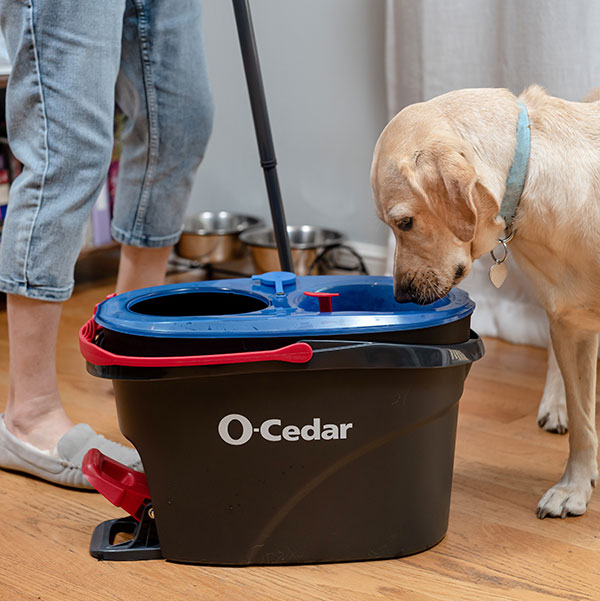
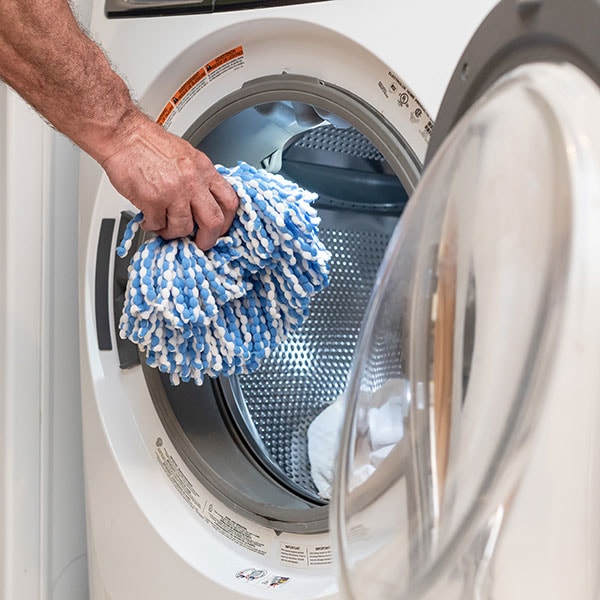
Week 1: Create a game plan and get prepared—and take inventory of all your cleaning supplies. Are you stocked up on your spring cleaning supplies? Wash, replace and stock up on all of your microfiber mop refills (don’t forget about the Deep Clean Refill — you’ll need it)—and wash out those refillable mop bottles and mop buckets. Give your tools the refresh they need before getting started.

Week 3: Focus on sorting through and getting rid of the junk. Tackle your closets, bookshelves, and pantry—donate those items that are just taking up space! While you're in there don't forget to sweep the bottom of closets and the pantry.
Below we’ll answer some common questions about spring cleaning and provide tips to help you get started with your spring cleaning month.
What is included in spring cleaning?
Spring cleaning typically involves a thorough cleaning of your home, including areas that tend to get missed throughout the year. Think cleaning windows, washing walls and baseboards, dusting blinds and light fixtures, cleaning appliances, and shampooing carpets.
What month should you start spring cleaning?
We like to start spring cleaning once the weather starts to warm up and you can open your windows to air out your home. Depending on where you live, this might be March or April.

What are three things to get rid of during spring cleaning?
1. Clothes: Go through your closet and donate any clothes you haven’t worn in the past year.
2. Paper clutter: Sort through old bills, receipts, and documents, and shred anything you no longer need.
3. Kitchen items: Clear out your kitchen cabinets and get rid of any unused or broken utensils or appliances.
•Pro-tip for our spring cleaning in apartments: make sure you prioritize sorting through and donating anything you don’t need. Take this time to make the most out of your smaller space!