
Pumpkin Carving Preparation and Clean Up Tips
Boo! Halloween is right around the corner and whether you have kids or are a kid at heart, you may be participating in some pumpkin carving over the next couple of weeks. Before you grab your pumpkin carving kit, here are some helpful pumpkin carving preparation and clean up tips.
#1: Pick the Perfect Pumpkin
Carving the perfect pumpkin starts with selecting the perfect pumpkin, so choose one that is fresh with no bruises and a sturdy stem. Check the bottom to make sure it is flat so your pumpkin doesn’t roll away.
#2: Wash Your Pumpkin
Just like your fall apples, wash your pumpkin before you decide to carve it. Hose it down in the backyard or give it a good rinse in the kitchen sink. Use a sponge cloth or multi-use sponge to gently scrub off any dirt and debris leftover from the pumpkin patch.
#3: Create a Pumpkin Carving Workspace
Pick a spot to create a pumpkin carving workspace. The kitchen table or a hard surface, like the kitchen floor work best. Lay down old magazines, newspapers or paper grocery bags to protect the surface underneath from any pumpkin pulp and seeds that may go rogue.
#4: Cut Out a Lid for Your Pumpkin
When cutting out the lid for your pumpkin, cut on an angle, not straight up and down. This will ensure the lid won’t drop inside the pumpkin when you replace it.
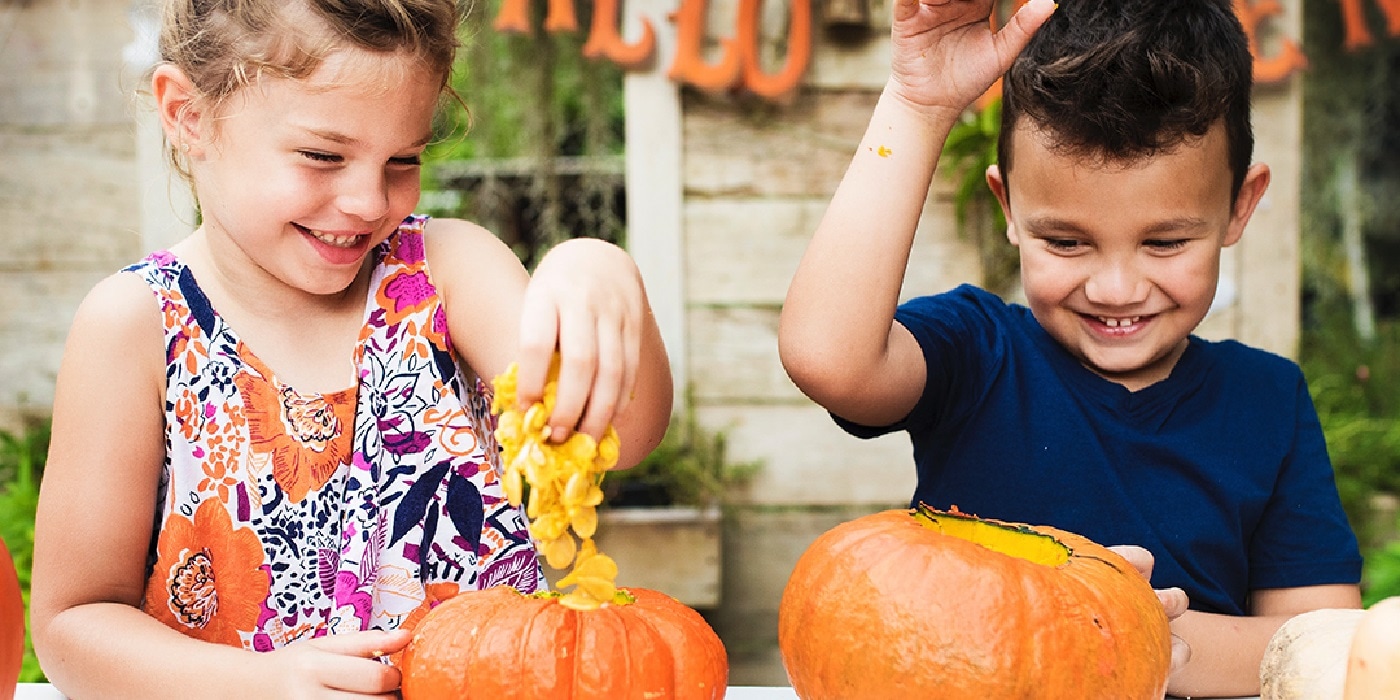
#5: Clean Out Your Pumpkin
It’s time to dig in, but before you begin, be sure to protect your hands and nails from the pumpkin mess by wearing a pair of Playtex gloves. Next, scoop out all of the pulp from your pumpkin including the pumpkin seeds. (If you enjoy baking pumpkin seeds, set them aside in a separate dish for baking later on). You can use a store bought pumpkin cleaning tool for cleaning your pumpkin, but a kitchen spoon or ice cream scoop both work just as well. Thin the inner wall of the pumpkin that you plan on carving so it’s about an inch thick. This will make it easier to carve later on.
#6: Pick Your Pumpkin Design
Now it’s time to pick a pumpkin design. You can draw a design or jack-o-lantern face free hand, but if art isn’t your thing, there are plenty of pumpkin carving templates you can print out online.
#7: Carve Your Pumpkin
Room temperature pumpkins are easiest to carve, so if you are storing your pumpkins outside, bring them inside 1-2 days before carving so they can warm up. When it’s time to carve your pumpkin, carve it while gently holding it in your lap. Carving a design or jack-o-lantern face is easier to do when the pumpkin face is gazing up at you. Unlike the pumpkin lid, don’t cut on a slant, but cut up and down instead as up and down slices will help your pumpkin look its best with clean lines.
#8: Keep Your Pumpkin Fresh
Mold is the enemy of your pumpkin, so keep it fresh. Dunk your carved pumpkin in cold water with a cap full of bleach to kill any bacteria then let it soak for up to 8 hours. After it soaks, spread petroleum jelly on the cut edges to seal in moisture.
#9: Light It Up
Purchase small, votive candles or battery operated candles to place inside your carved pumpkin. A traditional candle works too, but battery operated candles don’t require any relighting.
#10: Spice Up Your Pumpkin
Sprinkle a little cinnamon on the inside of your pumpkin lid. Once you light up your jack-o-lantern and replace the lid, your home will be filled with the sweet and savory scent of pumpkin pie. Mmm!
#11: Clean Up
When it’s time to clean up, simply remove the paper you placed down at the beginning of pumpkin carving and toss. Easy! If there are any spots on the kitchen table that need to be cleaned, grab a natural cleaning spray and a microfiber cleaning cloth and give your kitchen table a good clean. If you chose to carve your pumpkin on the floor, grab your O-Cedar® ProMist® MAX Microfiber Spray Mop and quick clean any areas that have pumpkin pulp left behind.
Use these easy steps to avoid a potential pumpkin mess while pumpkin carving this fall. Happy Halloween everyone!
You shouldn’t be the only one who enjoys all things pumpkin. Share the pumpkin love with man’s best friend this fall! Here’s a fun and tasty pumpkin flavored treat for dogs.

Pumpkin flavored treat for dogs
Ingredients:
- 1/3 cup peanut butter
- ¼ cup of milk
- 1 cup of pumpkin pie filling
- 2 ½ cups of oats
Preparation:
- Combine in a bowl: 1/3 cup peanut butter, ¼ cup of milk and 1 cup pumpkin pie filling.
- In a separate bowl, measure out 2 ½ cups of oats.
- Add 2 cups of oats to the mixture, set aside ½ cup of oats.
- Roll mixture into small balls and roll in leftover oats.
- Place treats on parchment-lined cookie sheet.
- Place tray in refrigerator for 2 hours.


